This will be a fairly niche problem, but I’m creating a deformable animation for some labels in Cinema using SplineWrap deformer on one part and a simple Bend deformer on a second part. Both of the labels are being animated from off screen to on screen, and placed on a product. All works great until I apply the lable texture in KS, and the label does not move with the object. So, I change the mapping to UV and then the lables disappears. I think this happens due to not having any UVs attached to the model.
Since its a deformable mesh animation, KS will not allow the use of any geometry tools, no UV unwrapping, normal swapping, etc. If I change the mapping to anything else (Plane works best) the label is projected onto the label as its animating under it.
Anyone know the trick and combination of tickboxes to check when exporting and importing abc alembic files from C4D to KS? I’m trying to systematically try every combination that I can think of, along with baking some temp textures to the lables inside Cinema to see if that makes them stick.
Thanks!
Did you UV unwrap the model in Cinema4D? That’s not really clear to me. I don’t use Cinema4D but I would think a UV map would stick while exporting. But you need to have the objects unwrapped of course.
It was all primative made stuff in Cinema, and it automatcially applies a UV when created, so the UV’s SHOULD have transferred, but didn’t.Would be wondering if anyone else knows if this is a limitation of the alembic filetype or KS import.
I’m not good with animation but did a quick tutorial to see what happens with UV. A UV does look same in 3D application. It does seem to have some weird issues with the outside rendering which looks like weird gloss artifacts like while it’s all the same material.
I’m not using C4D but MODO also creates an UV while you create something like a cube. But once you start modelling with that cube the default UV gets a big mess. I can’t imagine that being different in other software.
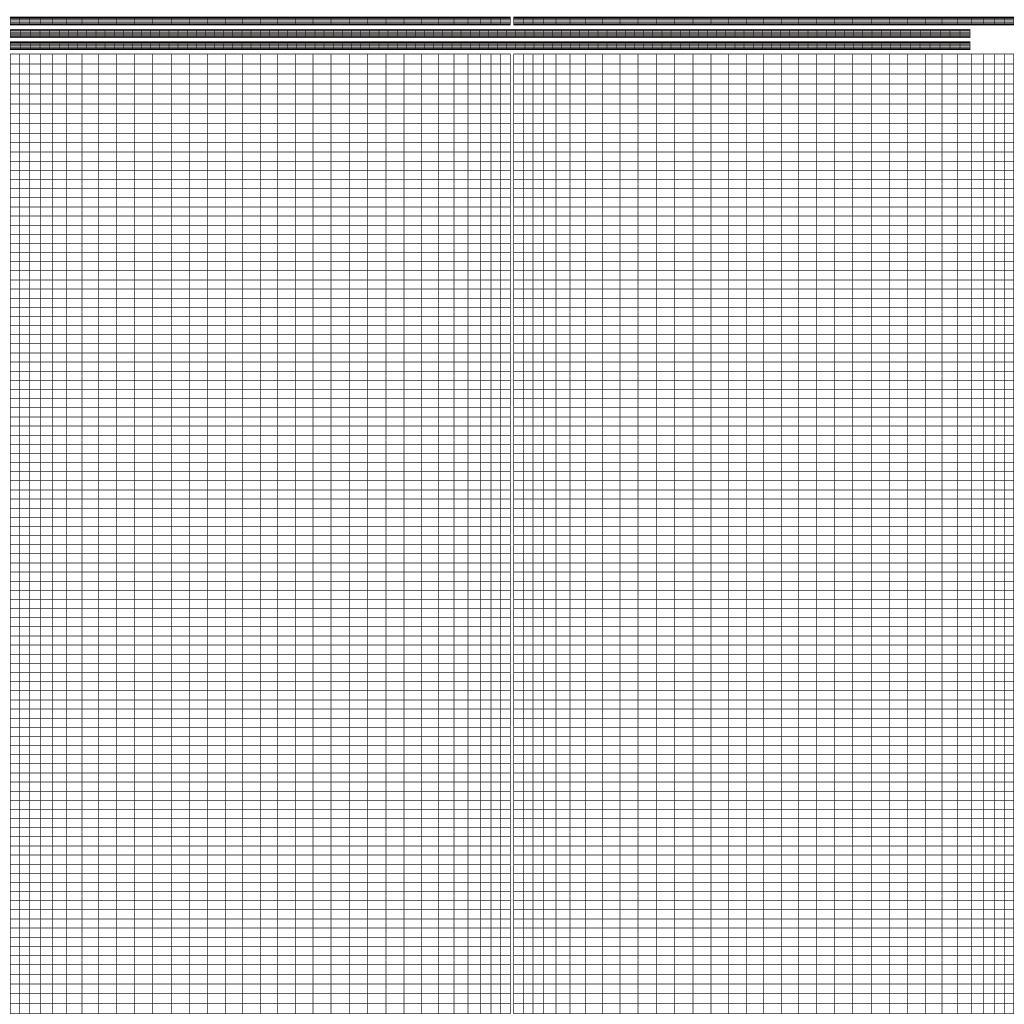
In this case I also created my own UV which looks like this.
You see quite some deforming in the logo and the numbers on the back side but that’s caused by me since I first did the UV and than freezed the subdivision geometry. Works better the other way around.
Long story short, I would check the UV inside C4D and check if your label image also covers the right parts from the UV. If either the UV is messy or the image is not placed at the right coordinates you won’t see it.
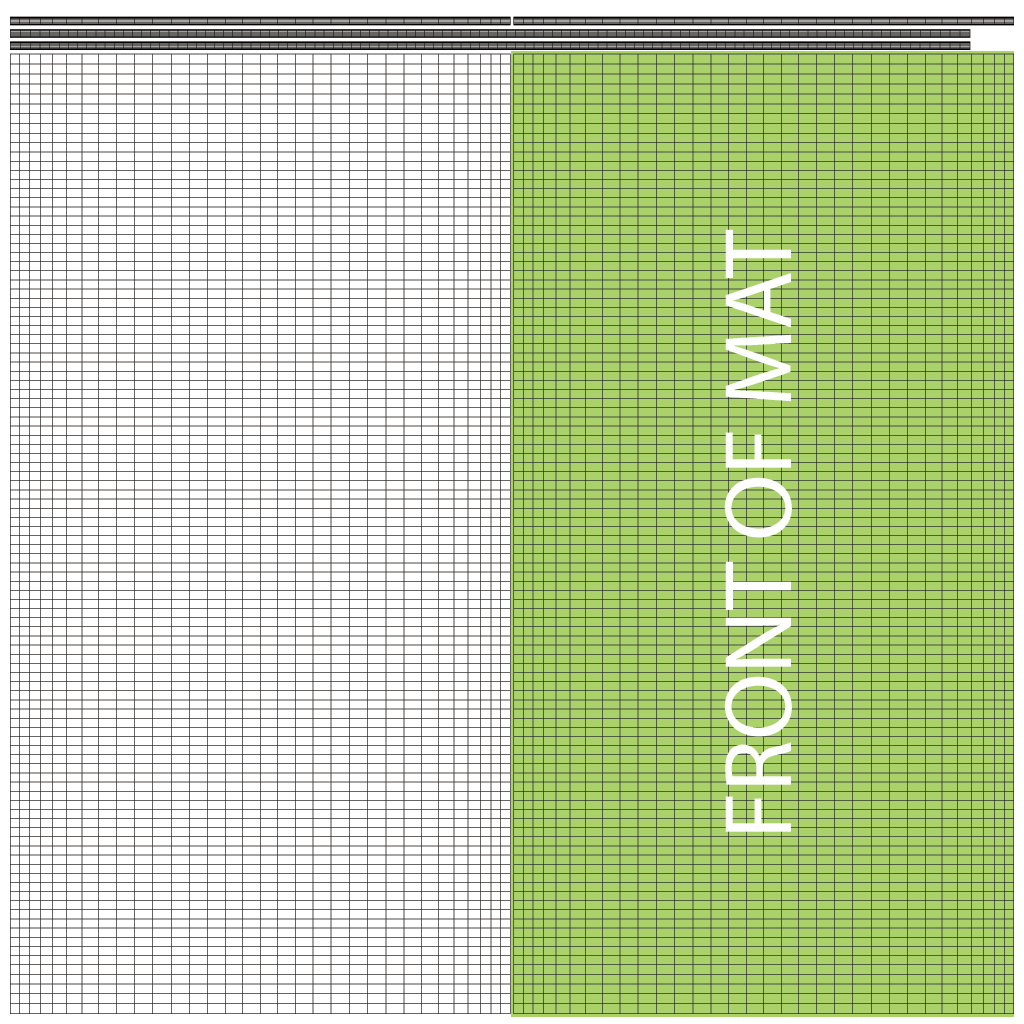
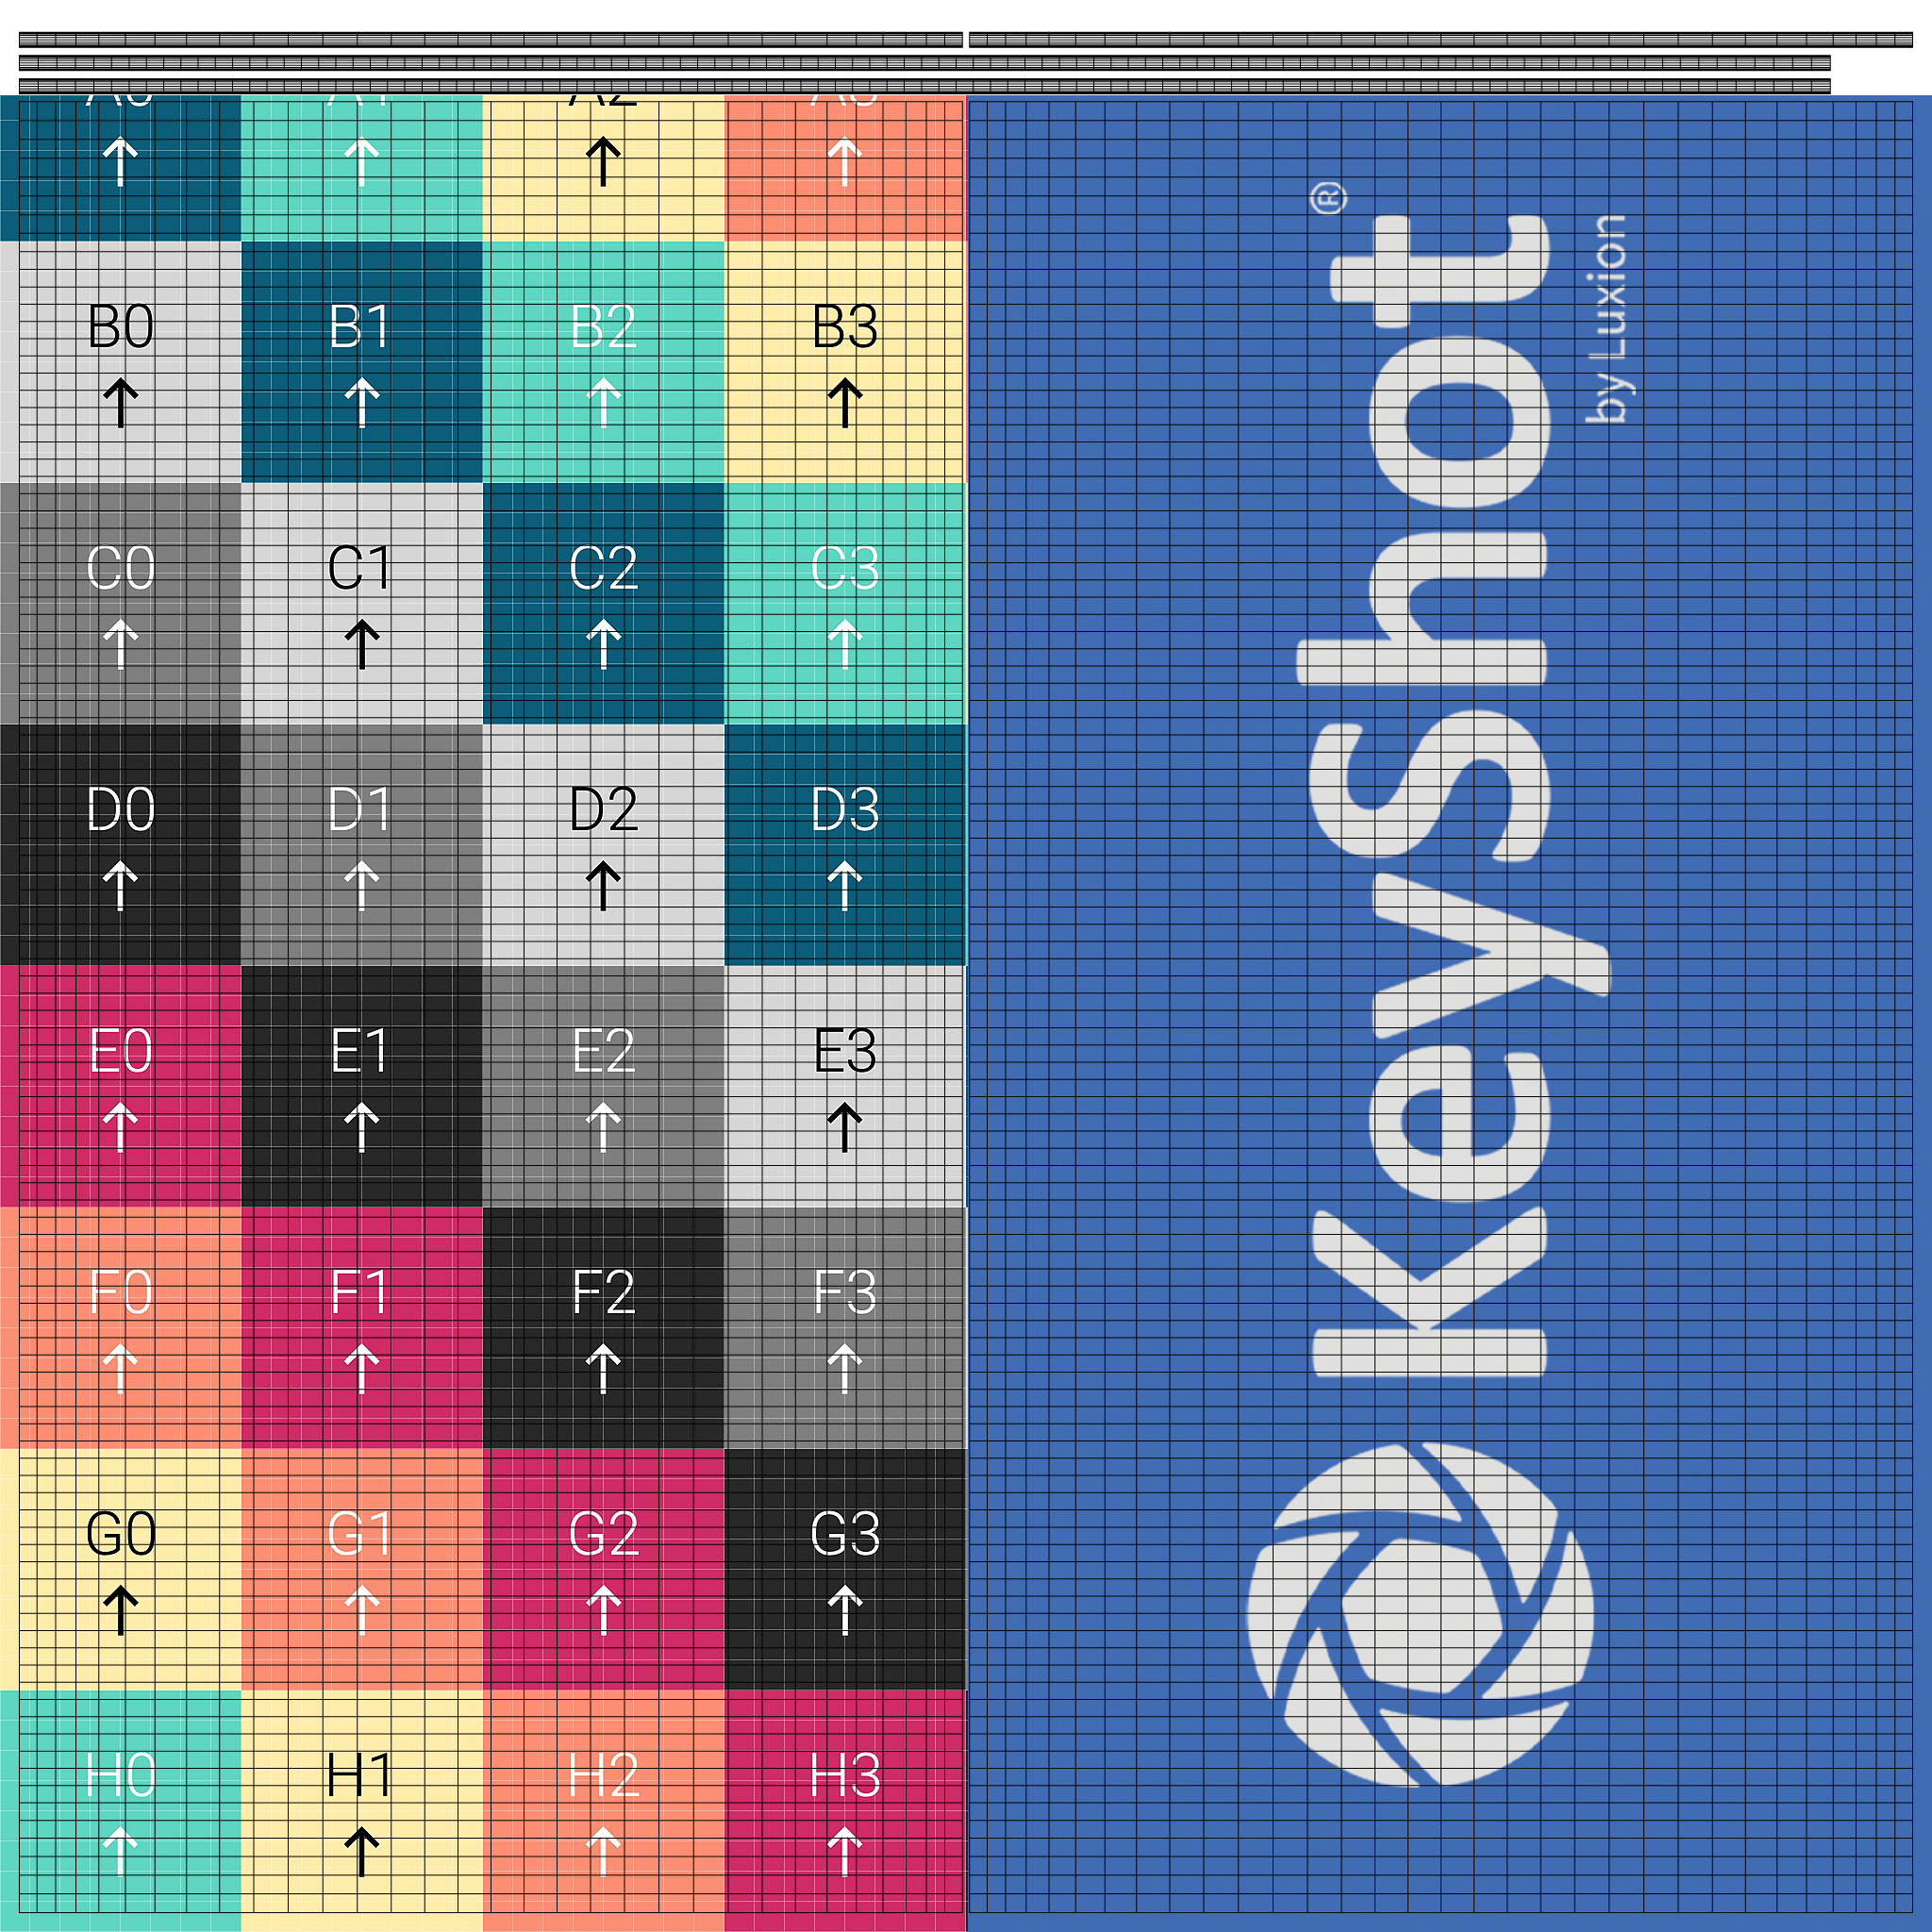
The green area is the front side of the mat so that part of the square bitmap of the texture should have the KeyShot logo.
So this is the actual texture used in the little animation.
Maybe you know this already but I thought it might help if I explained how the UV surface is always linked to geometry and you have to ‘know’ what the UV looks like before you can actually use it. Else you simply don’t know where you should put the labels etc in the bitmap.
Hope it’s a bit clear, else let me know.
Always willing to have UV’s explained to me. One of these days it will tick. I think I grasp the idea of what they are SUPPOSED to do, now learning the UV tools in order to make it to that is the next step. I do appreciate the time you took to put this together.
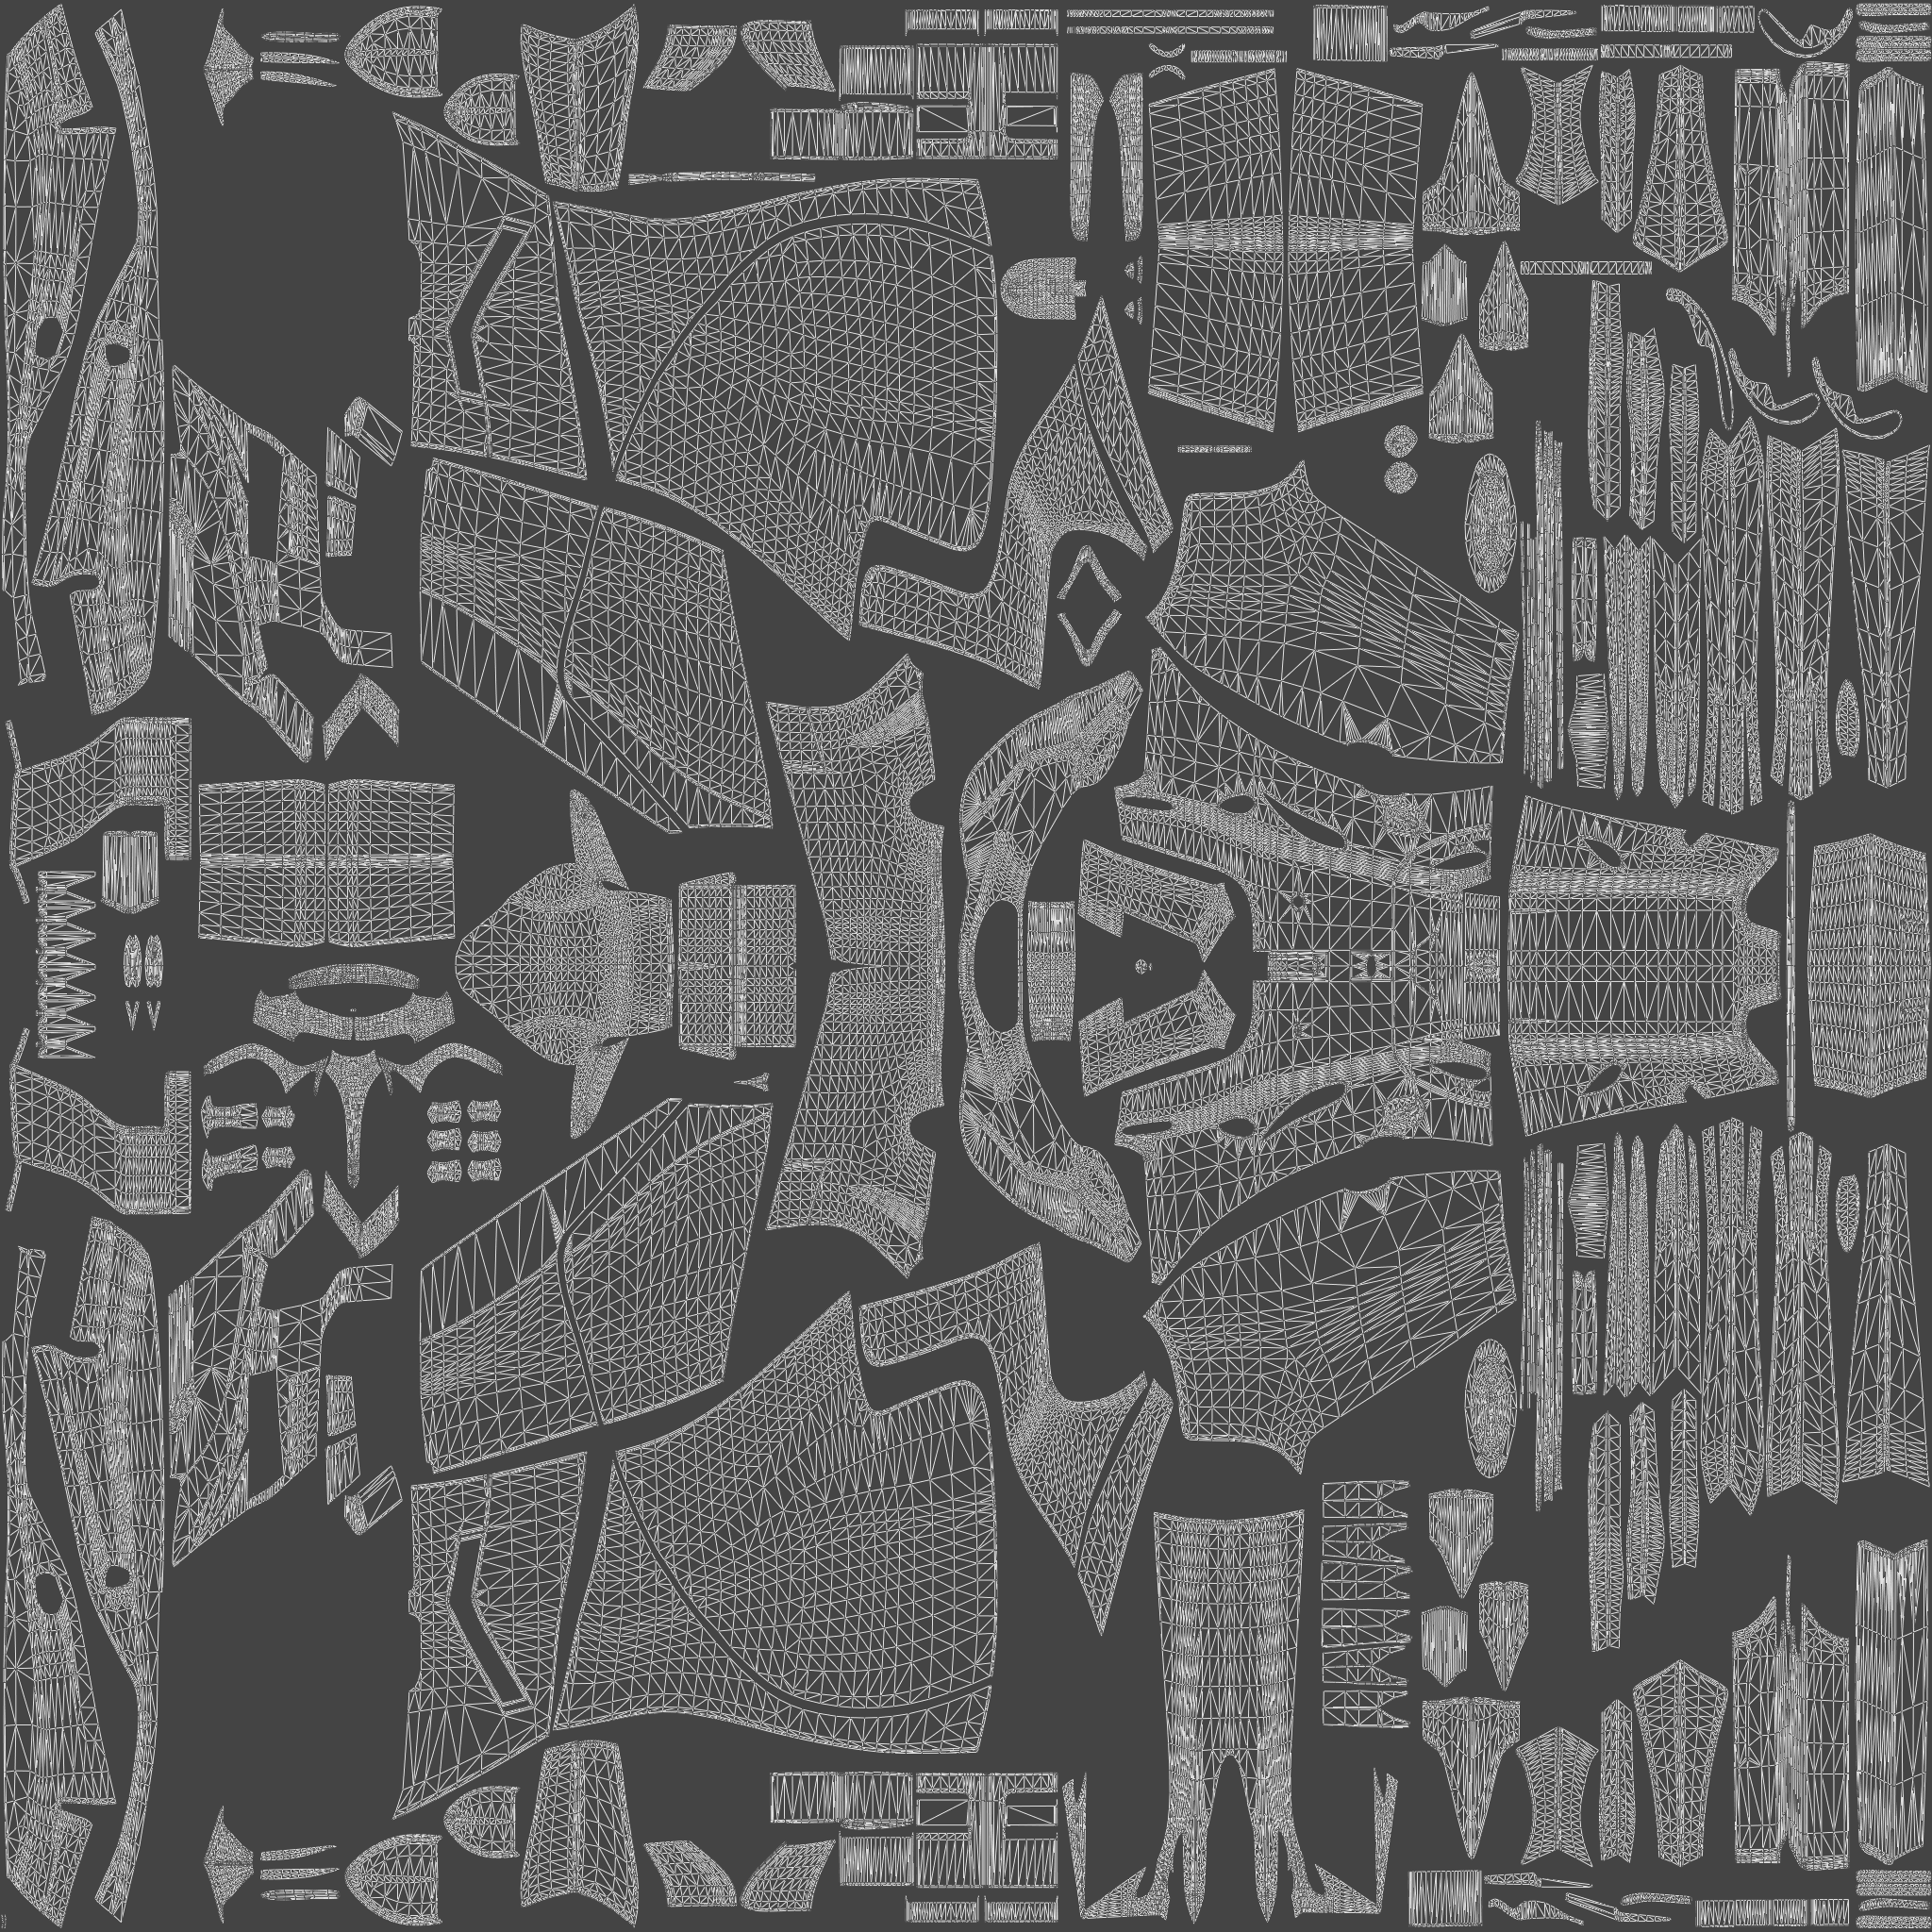
I think C4D has actually also a ‘one click UV’ option which could work well as a base. But without you knowing how the UV map looks you actually don’t know where to draw. In my example it’s pretty simple since it’s a flat object but a 3D model of a car looks for example like this:
So while it’s possible to use this as a backdrop image in Photoshop and try to put lines on it which connect over different parts it’s quite a big puzzle. That’s where programs like Substance Painter/Blender etc. can be used since they allow you to draw directly on top of the 3D model.
With plain geometry and simple labels you also don’t need an UV and that’s a nice thing. But if you’ve something with a more organic shape and you want for example a certain bump pattern over the entire surface you will need an UV because else you would always get distortion with mapping modes like planar/box/cylinder
MODO seems to be quite friendly with UV unwrapping but it’s my brain which makes it hard. I used to overthink the entire process to much. While it’s actually like peeling an orange or whatever. You make some cuts and part by part you unfold it.
Not sure how it works in C4D but I guess there’s some UV editor/tab so you can see how the UV looks. Will be a square with the wireframe of the model but flattened, peeled off. But if that makes sense you could see where on the square bitmap your label has to be.
You can also put a texture like this as label in KeyShot mapped as UV to see what happens with the texture. You should at least see something.